Contents
Manufacturing Insight: Machining Prints

Precision Manufacturing Solutions for Complex Machining Prints
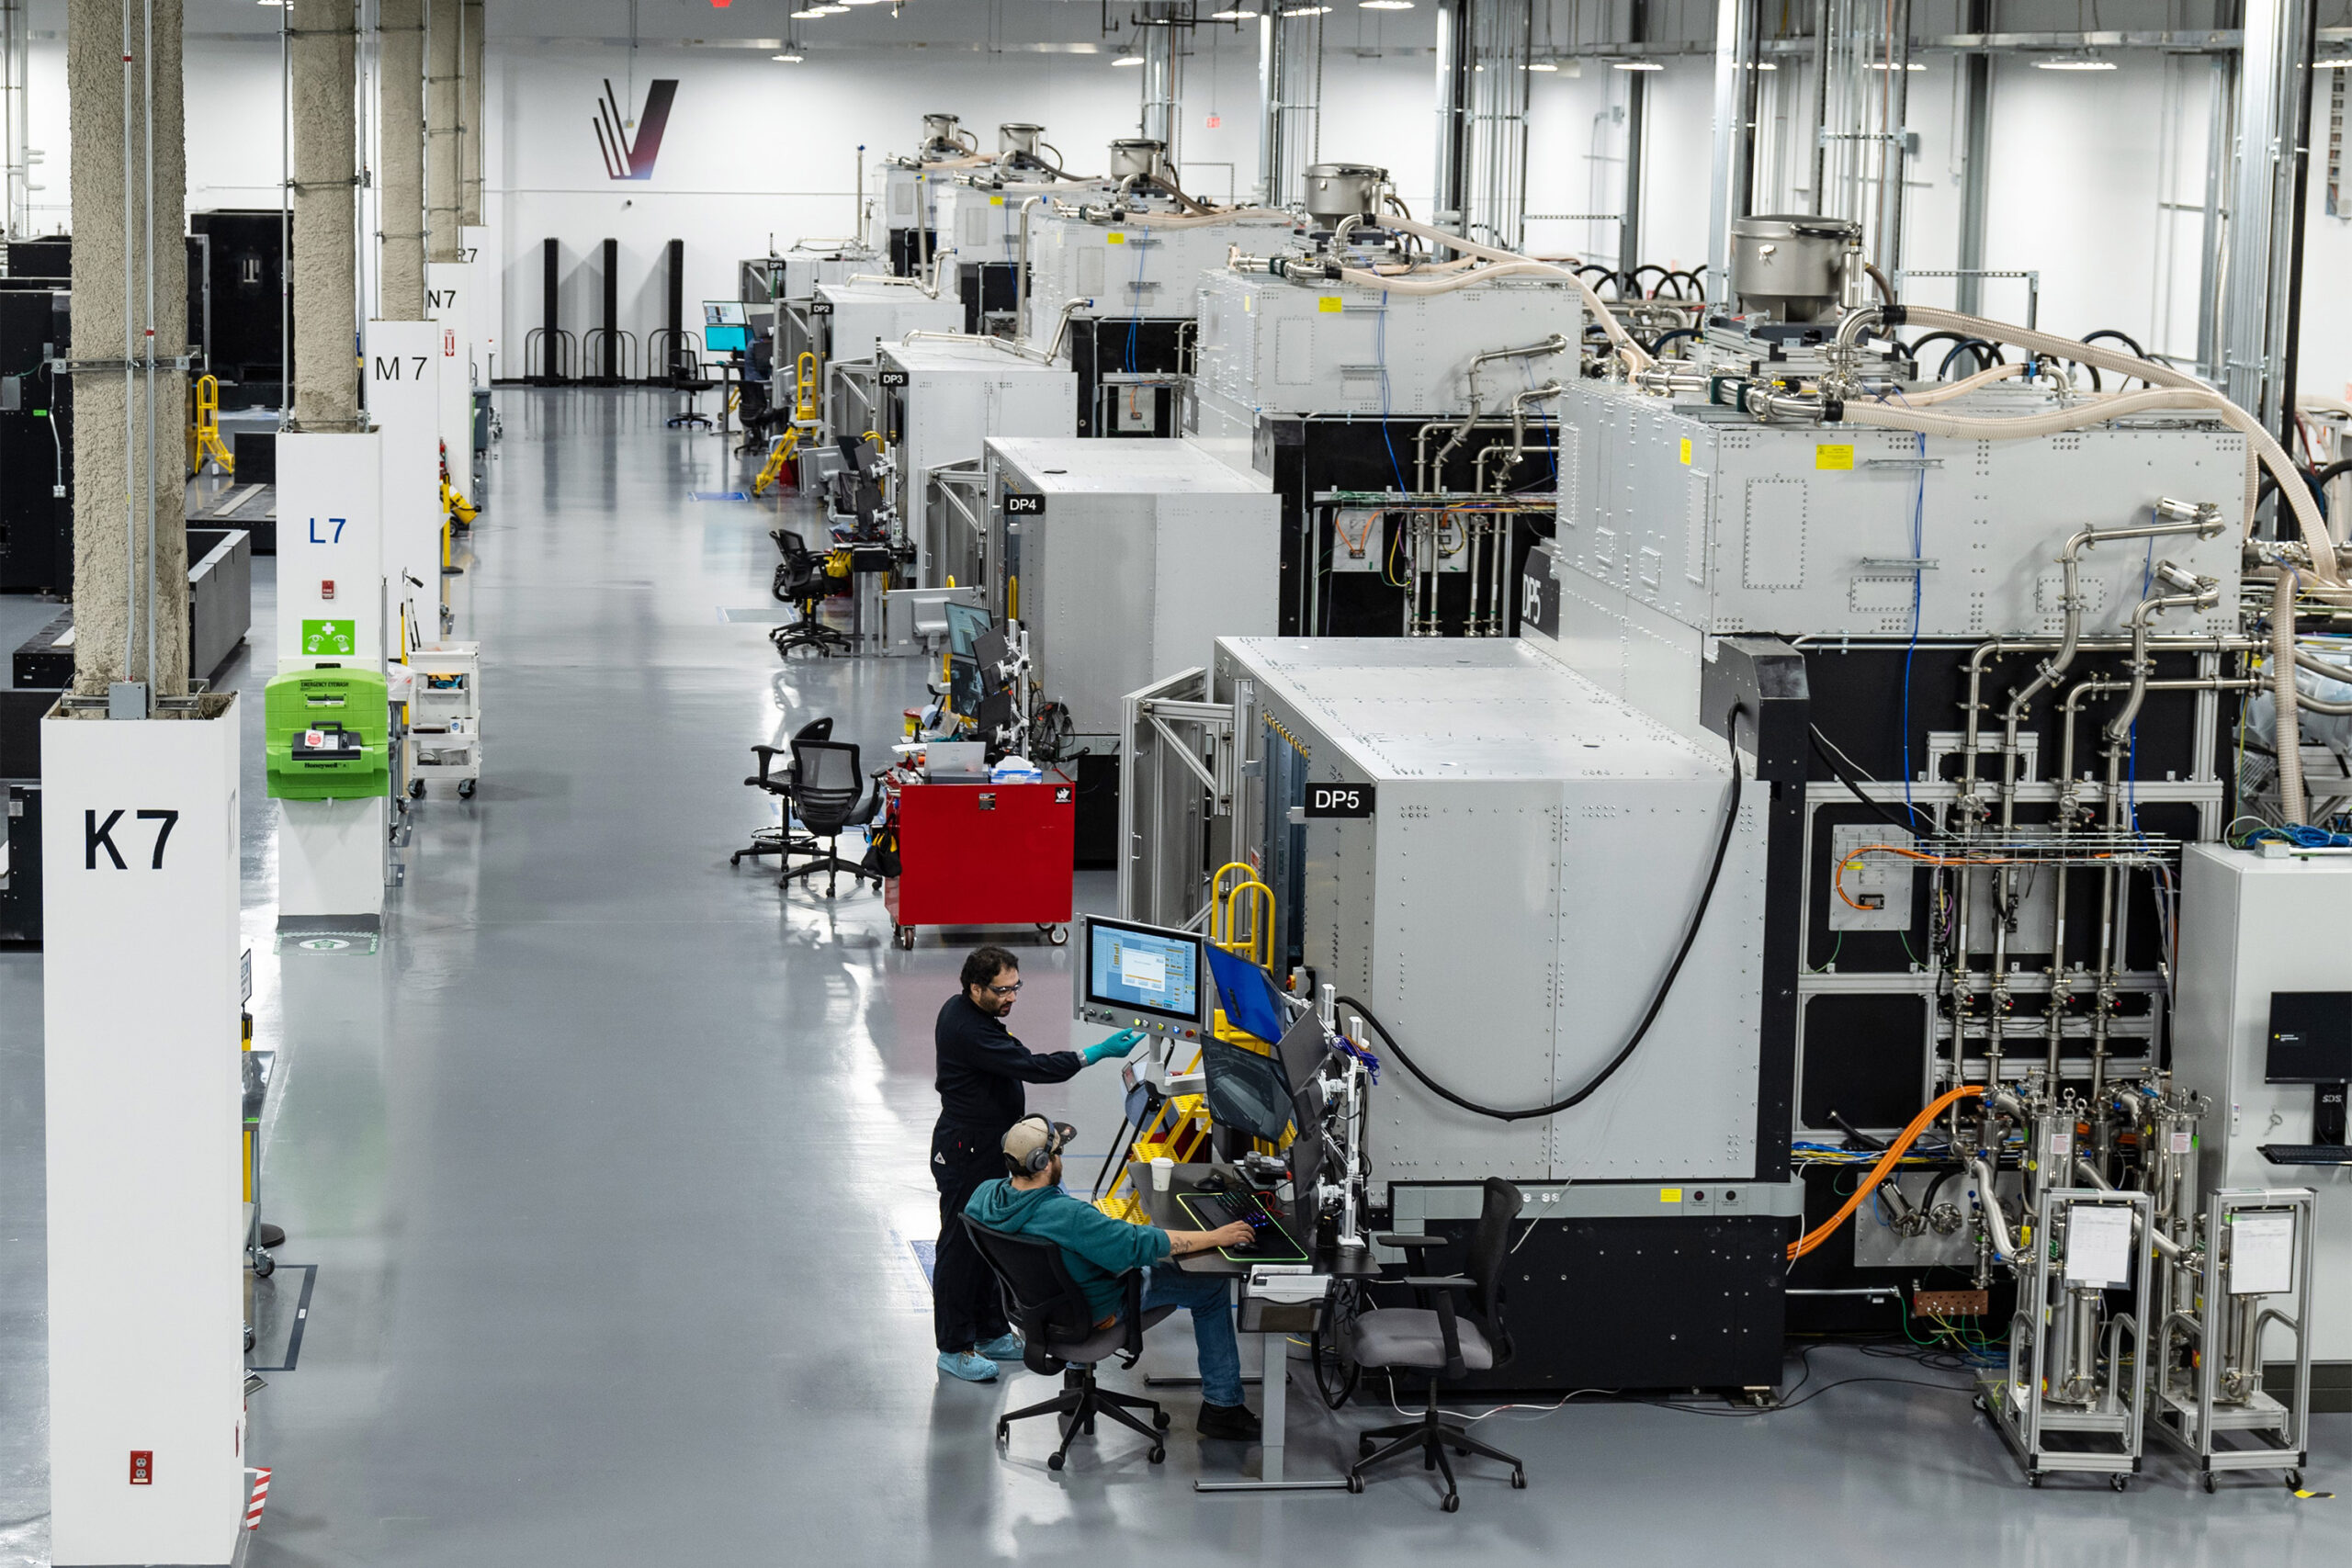
At Honyo Prototype, we understand that traditional machining processes face inherent limitations when translating intricate machining prints into high-performance components. Geometric complexity, internal features, and rapid iteration demands often create bottlenecks in conventional subtractive workflows, leading to extended lead times and compromised design intent. This is where industrial additive manufacturing becomes a strategic advantage—not as a replacement for machining, but as a precision-engineered complement to overcome these constraints.
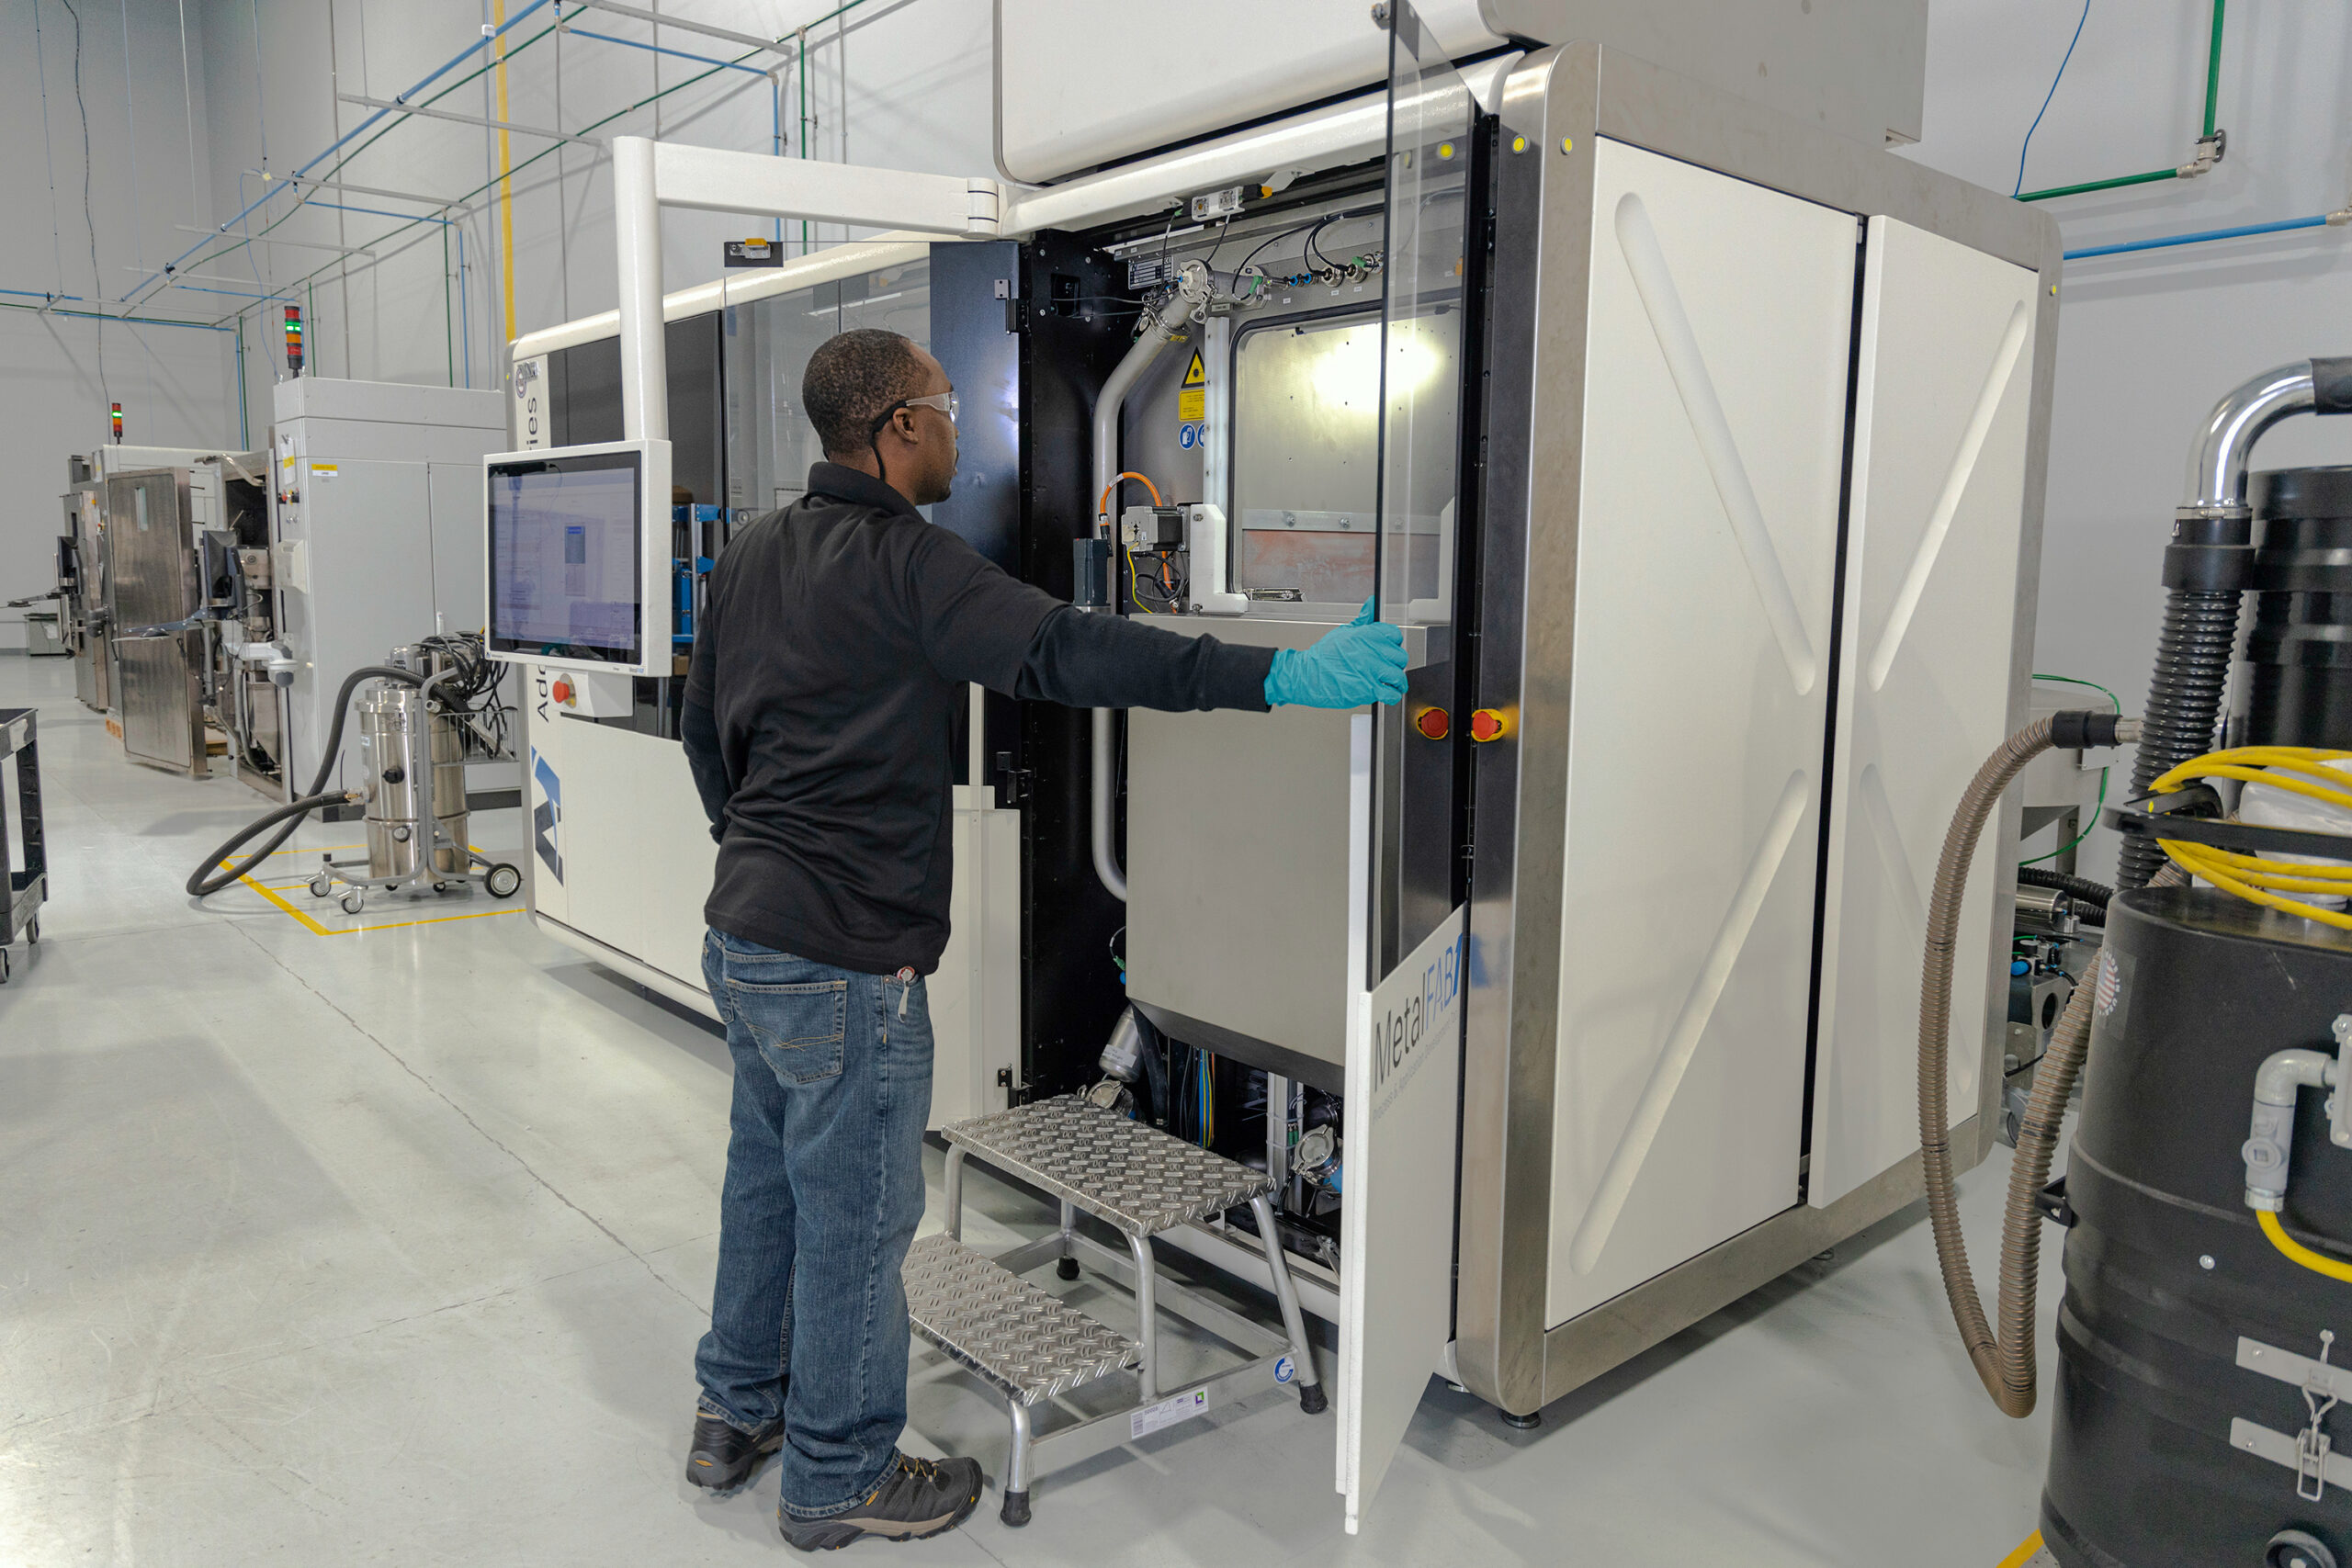
Our Industrial 3D Printing services specialize in producing end-use parts and functional prototypes directly from your machining prints, leveraging advanced metal and polymer systems to achieve geometries impossible through milling or turning alone. We deploy certified processes including Direct Metal Laser Sintering (DMLS), Multi Jet Fusion (MJF), and Stereolithography (SLA), all operating under stringent AS9100 and ISO 9001 controls. This ensures dimensional accuracy within ±0.05 mm, material properties matching ASTM/AMS standards, and seamless integration with secondary machining operations for hybrid manufacturing solutions.
Eliminating quoting delays is critical in today’s agile supply chains. Honyo’s Online Instant Quote platform analyzes your machining prints in real-time, providing transparent pricing and lead time estimates within minutes—no manual review bottlenecks. Simply upload your STEP or IGES file, specify materials and finishes, and receive a production-ready quote validated by our engineering team. This accelerates your path from design validation to certified part delivery, reducing time-to-market by up to 70% for complex components.
Partner with Honyo Prototype to transform challenging machining prints into optimized, manufacturable realities through industrial additive expertise backed by responsive digital infrastructure.
Technical Capabilities

Machining prints for additive manufacturing processes such as Stereolithography (SLA), Selective Laser Sintering (SLS), Multi Jet Fusion (MJF), and Direct Metal Laser Sintering (DMLS) require specific technical specifications to ensure part accuracy, surface finish, and material performance. These prints must include dimensional tolerances, layer thickness, build orientation, support requirements (where applicable), and post-processing instructions. Below is a comparative summary of technical specifications for these processes, including commonly used materials such as Aluminum (AlSi10Mg), Stainless Steel (17-4 PH), ABS-like photopolymers, and Nylon (PA12).
| Process | Layer Thickness (mm) | Typical Tolerance (± mm) | Surface Roughness (Ra, µm) | Common Materials | Support Structures Required | Post-Processing Requirements |
|---|---|---|---|---|---|---|
| SLA (Stereolithography) | 0.025 – 0.15 | 0.10 – 0.15 | 0.8 – 2.0 | Photopolymer (ABS-like, Rigid, Transparent) | Yes (for overhangs >30°) | Drain uncured resin, UV curing, sanding, painting optional |
| SLS (Selective Laser Sintering) | 0.08 – 0.12 | 0.10 – 0.30 | 8.0 – 12.0 | Nylon (PA11, PA12), Glass-filled Nylon | No (powder acts as support) | Powder removal, bead blasting, optional annealing or dyeing |
| MJF (Multi Jet Fusion) | 0.08 – 0.10 | 0.10 – 0.20 | 5.0 – 9.0 | Nylon (PA12), Glass-filled PA12, TPU | No | Powder removal, bead blasting, steam smoothing optional |
| DMLS (Direct Metal Laser Sintering) | 0.02 – 0.05 | 0.05 – 0.15 | 10.0 – 15.0 (as-built), 3.0+ with finishing | Aluminum (AlSi10Mg), Stainless Steel (17-4 PH, 316L), Titanium (Ti6Al4V), Inconel | Yes (for overhangs and heat dissipation) | Support removal, stress relieving, heat treatment, machining, shot peening, surface grinding |
Notes:
Tolerances are typical and may vary based on part geometry, build orientation, and post-processing.
Surface roughness values are as-built; secondary operations such as sanding, polishing, or coating can improve finish.
For metal processes like DMLS, machining prints often include GD&T (Geometric Dimensioning and Tolerancing) callouts for critical features requiring tight fit or mating.
In SLA, material properties resemble ABS in appearance and stiffness but may degrade under prolonged UV exposure unless post-processed with protective coatings.
SLS and MJF both use nylon powders, offering good mechanical strength and thermal resistance, with MJF providing faster build times and slightly better surface consistency.
DMLS enables high-strength, fully dense metal parts suitable for aerospace and medical applications, but requires extensive support and post-build thermal management to minimize distortion.
From CAD to Part: The Process

Honyo Prototype Machining Process Overview
Our streamlined workflow for precision CNC machining projects ensures technical accuracy, cost efficiency, and rapid turnaround from design to delivery. The process is engineered for B2B clients requiring high-integrity prototypes and low-volume production parts.
Upload CAD
Clients initiate projects by uploading native CAD files (STEP, IGES, Parasolid, or native formats from SolidWorks, Fusion 360, etc.) via our secure client portal. The system validates file integrity, checks geometric completeness, and confirms adherence to minimum feature size requirements for machining. All data is encrypted in transit and at rest per ISO 27001 standards, with optional NDA enforcement during upload.
AI-Powered Quoting
Uploaded geometry triggers our proprietary AI quoting engine, which analyzes part complexity, material requirements, tolerances, and surface finishes against real-time machine availability and shop floor metrics. The engine generates a preliminary quote within 2 hours, including cost breakdowns for material, machining time, and secondary operations. Critical insights such as manufacturability flags or recommended material substitutions are highlighted to preempt downstream issues. Human engineering oversight validates all AI outputs before client submission.
DFM Analysis and Collaboration
Following quote acceptance, our engineering team conducts a rigorous Design for Manufacturability review. This phase identifies opportunities to optimize geometry for reduced cycle times, improved tool access, or cost savings without compromising functional intent. Clients receive a collaborative DFM report detailing actionable recommendations. Key focus areas include:
| DFM Parameter | Standard Check Criteria | Typical Resolution Action |
|---|---|---|
| Wall Thickness | < 0.5mm for metals; < 1.0mm for plastics | Suggest uniform thickness or ribbing |
| Internal Radii | Radius < tool diameter for critical corners | Propose increased radius or T-bone cuts |
| Tolerance Stack-Ups | IT grades tighter than ±0.025mm without justification | Recommend GD&T optimization |
| Hole Depths | Depth > 4x diameter for non-pecked holes | Advise step-drilling or alternative |
Client feedback is integrated within 24 hours, with revised pricing reflecting any design adjustments.
Production Execution
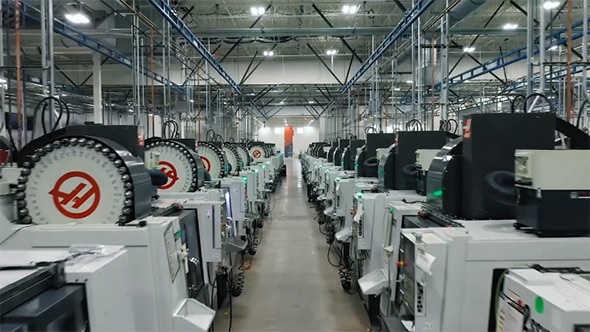
Approved designs move to production on our monitored CNC assets (3-axis, 4-axis, and 5-axis mills; turning centers). Each job receives:
Material certification with traceable lot numbers
In-process CMM inspections at critical stages
Real-time machining data logging (spindle load, tool wear)
First-article inspection reports (FAIR) per AS9102
All processes adhere to ISO 9001:2015 standards, with non-conformance protocols activated for any out-of-tolerance conditions. Typical lead times are 5–10 business days for prototypes, scalable for small batches.
Delivery and Traceability
Finished parts undergo final cleaning, deburring, and surface verification before packaging. Clients receive:
Complete inspection documentation (PDF and XML)
Material test reports (MTRs)
Digital twin comparison to original CAD
Shipping with real-time GPS tracking
Parts are delivered in ESD-safe packaging with humidity indicators, with options for expedited global logistics. Post-delivery, our portal maintains lifetime access to all production data for audit or re-order purposes.
This closed-loop process minimizes time-to-part while ensuring technical compliance for aerospace, medical, and industrial clients requiring zero-defect deliverables.
Start Your Project

For detailed machining prints and technical specifications, contact Susan Leo at [email protected]. Our manufacturing facility is located in Shenzhen, China, and supports precision machining with full documentation for prototyping and production runs. Reach out to coordinate print submission, material requirements, or engineering inquiries.
🚀 Rapid Prototyping Estimator
Estimate rough cost index based on volume.