Contents
Manufacturing Insight: Machined Aluminum Extrusions

Machined Aluminum Extrusions – Honyo Precision CNC Finish in 3 Days
Start with a standard profile and we’ll CNC-machine it into a finished component while most shops are still quoting. Our 4-axis Haas cells, 5-axis Mikron centers, and in-line CMMs turn 6061-T6, 6082, and 7075 extrusions into heat-sink housings, robot risers, and LED frames with ±0.02 mm true-position and 32 µin Ra as-milled finishes. Upload your STEP file at honyoprototype.com for an online instant quote: you’ll see priced options for anodize, chem-film, laser marking, and even kit assembly, all delivered in as fast as 72 hours.
Technical Capabilities

Technical Specifications for Machined Components from Aluminum Extrusions
(Note: Critical Clarification – “Machined aluminum extrusions” is a misnomer. Extrusions are formed via extrusion (hot/cold pushing through a die), not machining. Machining is a secondary process applied to extruded profiles to add precision features. This document addresses machined parts derived from aluminum extrusions as starting stock.)
I. Core Clarification: Extrusion vs. Machining
- Aluminum Extrusion Process:
- Produces long, continuous profiles with constant cross-section (e.g., channels, tubes, custom shapes).
- Typical As-Extruded Tolerances:
- ±0.010″ (±0.25 mm) for widths/heights (per AMS-QQ-A-200/361).
- ±0.005″ (±0.13 mm) for critical dimensions in high-precision extrusions (e.g., aerospace-grade).
-
Extrusions alone cannot achieve tight tolerances – machining is required for precision features.
-
Machining Process:
- Removes material from extruded stock to create final features (holes, slots, faces, contours).
- Key Limitation: Machining accuracy is constrained by the base extrusion’s dimensional stability and straightness. Warpage or uneven extrusion tolerances compound errors. For tight-tolerance parts, we often recommend machining from solid bar stock instead of extrusions.
II. Machining Specifications for Aluminum Extrusion-Based Parts
(Assuming extrusion is used as starting stock; critical for high-precision applications)
| Process Type | Typical Tolerance Range | Surface Finish (Ra) | Key Capabilities & Constraints |
|——————|—————————–|————————-|———————————–|
| 3-Axis Milling | ±0.001″ (±0.025 mm) standard
Tight Tolerance: ±0.0005″ (±0.013 mm) for critical features | 16–63 μin (0.4–1.6 μm) | – Ideal for flat faces, pockets, simple holes.
– Constraint: Extrusion straightness must be ≤0.002″ per inch to avoid deflection.
– Tooling: Carbide end mills (4-flute), coolant for aluminum alloys. |
| 4-Axis Milling | ±0.001″ (±0.025 mm) standard
Tight Tolerance: ±0.0005″ (±0.013 mm) | 16–63 μin (0.4–1.6 μm) | – Adds rotational axis (A-axis) for cylindrical features.
– Enables machining of slots/holes around a tube or profile.
– Constraint: Fixturing must compensate for extrusion ovality. |
| 5-Axis Milling | ±0.0005″ (±0.013 mm) standard
Ultra-Tight Tolerance: ±0.0002″ (±0.005 mm) for aerospace/medical | 8–32 μin (0.2–0.8 μm) | – Simultaneous 5-axis motion for complex contours (e.g., aerospace brackets, medical implants).
– Constraint: Requires extrusion with ≤0.001″ per inch straightness. Tool path optimization critical to avoid vibration.
– Surface finish: Precision grinding often required for ≤8 μin Ra. |
| Turning (Lathe) | ±0.0005″ (±0.013 mm) for diameters
Tight Tolerance: ±0.0002″ (±0.005 mm) | 8–32 μin (0.2–0.8 μm) | – Used for cylindrical features (e.g., shafts, hubs from extruded tubes).
– Constraint: Extrusion roundness must be ≤0.001″ TIR (Total Indicator Reading).
– Tooling: Diamond-tipped tools for high-precision aluminum. |
III. Material-Specific Machining Considerations
(Note: Steel, ABS, and Nylon are not typically extruded in the same context as aluminum for precision machining. Clarifications below:)
| Material | Extrusion Feasibility | Machining Specs for Precision Parts | Critical Notes |
|————–|—————————|—————————————-|——————-|
| Aluminum (e.g., 6061-T6, 7075-T6) | ✅ Yes (standard) | – Tolerances: ±0.0005″ achievable with 5-axis machining.
– Surface Finish: 8–32 μin Ra with fine-grain carbide tooling.
– Key Issue: Thermal expansion during machining requires controlled temperatures. | – Best for extrusion-based machining. Use aerospace-grade extrusions (e.g., 6061-T6 with ±0.005″ tolerance) for tight-tolerance work. |
| Steel (e.g., 1018, 4140) | ⚠️ Not Extruded
(Steel is rolled/forged) | – Tolerances: ±0.0002″ achievable with grinding.
– Surface Finish: 4–16 μin Ra for precision parts.
– Machining: Requires high rigidity, coolant, and slow speeds. | – Do not use steel extrusions – steel is never extruded for precision parts. If machining steel, start from solid bar or forged stock. |
| ABS | ✅ Yes (thermoplastic extrusion) | – Tolerances: ±0.005″ typical (plastics deform easily).
– Surface Finish: 63–125 μin Ra (chatter common).
– Machining: High speeds, sharp tools, low feed rates. | – Not suitable for tight-tolerance machining. ABS extrusions warp easily. For precision ABS parts, use injection molding or solid sheet stock. |
| Nylon (e.g., 6/6, 6/12) | ✅ Yes (thermoplastic extrusion) | – Tolerances: ±0.005″ typical.
– Surface Finish: 63–125 μin Ra.
– Machining: Requires dry machining or specialized coolants to prevent melting. | – Unsuitable for tight-tolerance applications. Nylon absorbs moisture and creeps under load. For precision parts, use injection molding or solid rod stock. |
IV. Critical Requirements for Tight-Tolerance Aluminum Extrusion Machining
- Extrusion Quality:
- Specify “precision extrusion” with <±0.005″ dimensional tolerance (e.g., AMS 4027 for aerospace).
- Straightness: ≤0.001″ per inch (e.g., 0.005″ TIR for a 5″ length).
- Fixturing:
- Must compensate for extrusion imperfections (e.g., self-centering chucks for tubes).
- Avoid over-clamping to prevent distortion.
- Process Control:
- Temperature control: Machining in climate-controlled environment (±2°C).
- Stress relief: Anneal extruded stock before machining for high-precision parts.
- Secondary Operations:
- For tolerances ≤±0.0002″, add grinding or lapping after milling.
- Coordinate Measuring Machine (CMM) inspection mandatory for critical features.
V. When to Avoid Aluminum Extrusions for Precision Parts
- If tolerances < ±0.0005″ are required, machine from solid bar stock (e.g., 6061-T6 bar) instead of extrusions.
- For complex 3D contours, solid stock eliminates extrusion warpage issues.
- For thermoplastics (ABS/Nylon): Use injection molding or solid sheet stock – extruded profiles are never suitable for tight-tolerance applications.
💡 Honyo Prototype Recommendation: For high-precision aluminum parts, we always recommend starting with solid bar stock unless the extrusion’s geometry is essential (e.g., complex cross-sections). This avoids compounding extrusion tolerances and ensures repeatable tight-tolerance results.
For a specific project, share your CAD model and tolerance requirements – we’ll advise the optimal starting stock (extrusion vs. solid bar) and machining strategy.
From CAD to Part: The Process

Honyo Prototype – Process Flow for Machined Aluminum Extrusions
(Upload CAD ➜ AI Quote ➜ DFM ➜ Production ➜ Delivery)
-
Upload CAD
• Customer drags-and-drops any native or neutral 3-D file (STEP, IGES, Parasolid, SolidWorks, Inventor, etc.) into the Honyo cloud portal.
• Geometry is instantly scanned for IP protection, version control, and encryption before it hits the server.
• A digital twin ID is created; all downstream operations are linked to this ID so the part can be traced back to the original upload. -
AI Quote (≤ 5 min)
• Honyo’s AI engine “reads” the extrusion cross-section, overall length, machining envelopes, tapped holes, pockets, anodize type, etc.
• It queries live material pricing (6061, 6063, 6082, 7075, etc.), extrusion die availability, and open machine time in Suzhou & Shenzhen.
• A costed BOM is generated: extrusion blank, cut-off, CNC hours, deburr, any 2° ops (laser etch, insert, anodize), packaging, and express freight.
• Customer sees three lead-time/cost tiers (Express 3-day, Standard 7-day, Economy 12-day) and can swap finishes or quantities in real time; the quote self-updates. -
DFM & Tooling Lock (24 h)
• A senior extrusion + CNC engineer reviews the AI quote; the goal is “machine stock positive, twist negative.”
• Cross-section is checked for web thickness, tongue ratio, draft on deep channels, and sink marks that will telegraph after anodize.
• machining fixture plan: we decide whether to use a sacrificial 2-sided profiled wedge, a pneumatic 5-axis dovetail, or a soft-jaw vise nest.
• Extrusion die: if a standard Honyo die exists we reserve 50 kg billet; if custom, we order H13 steel die (7-day lead) and add die amortization into unit price.
• Final 3-D PMI is pushed back to customer for e-signature; once signed the rev is frozen and ERP releases cut-list to the extrusion press shop. -
Production (3–12 days depending on tier)
a. Extrusion
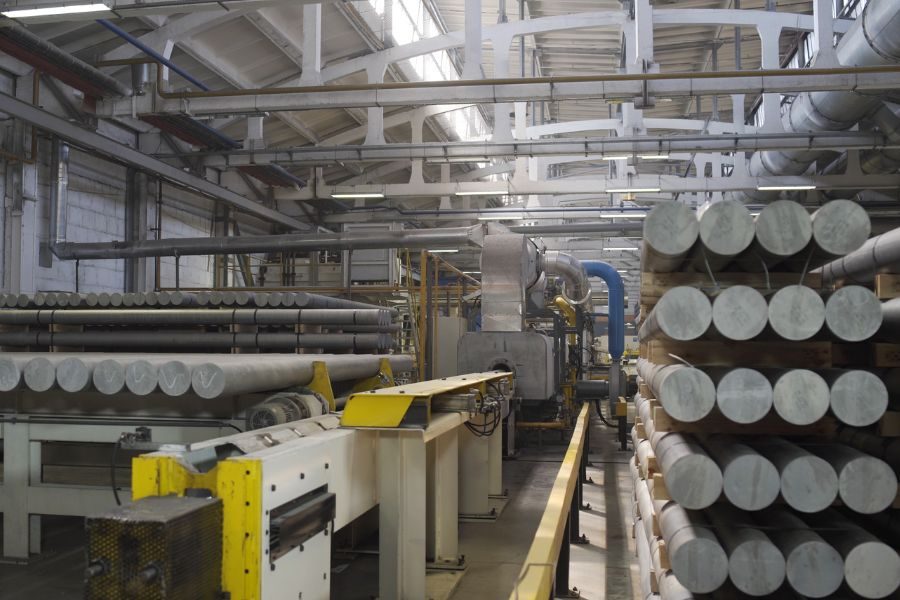
– 6″ or 7″ billet pre-heated to 480 °C, extruded at 8–12 m min⁻¹, cooled with air + water mist to < 200 °C within 30 s to lock grain structure.
– Stretch-straighten to ≤ 0.2 mm m⁻¹ bow, age 6 h to T5 or T6.
b. Cut & Prep
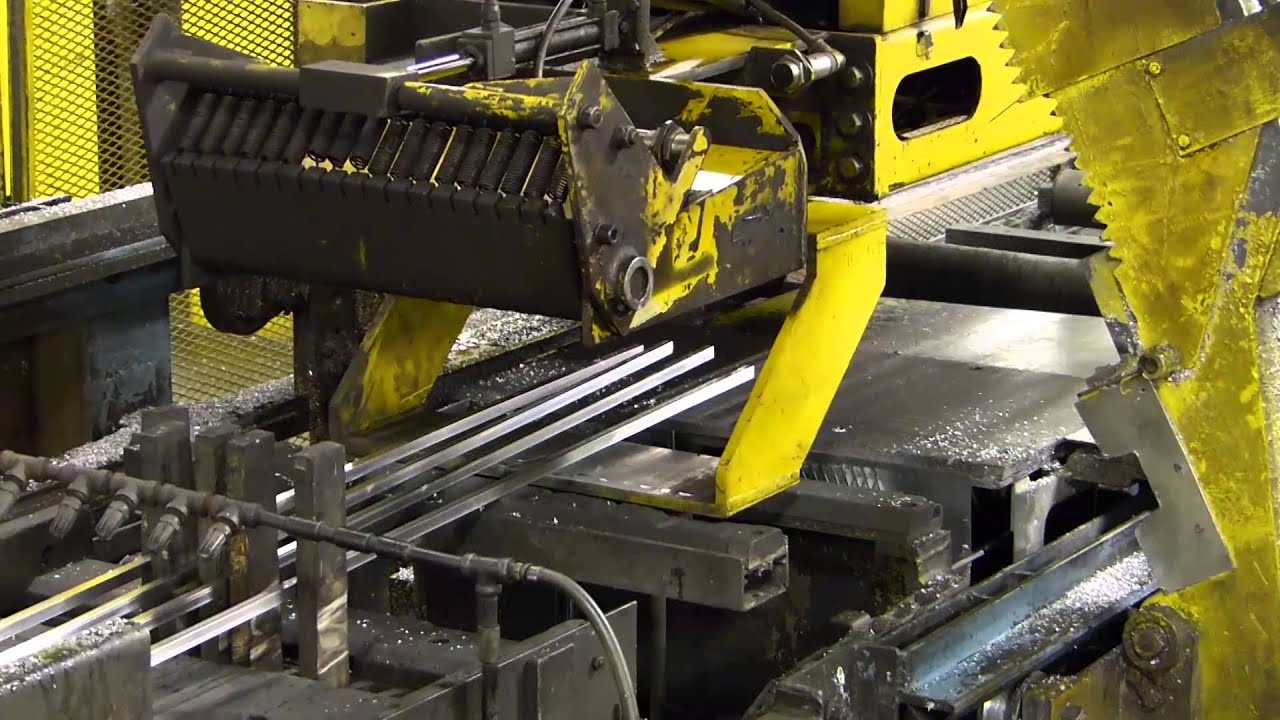
– Cold saw to +0.5 mm finish stock, deburr ends, laser-etch part number & rev.
c. CNC Machining
– 3-axis or 5-axis Brother or Fanuc cells; custom M-codes call Honyo’s macro library for extrusion-specific facing, window milling, hole-pattern cycles.
– In-line Renishaw probing; every 5th part gets full CMM report (profile, true position, surface flatness).
d. Secondary
– Tapping with roll-form taps for 6061, thread milling for 7075.
– Wet polish 220-400 grit if cosmetic, followed by Type II clear or black anodize (8 µm) or Type III hard-coat (25 µm) with PTFE seal.
– Laser marking (DataMatrix, logo) after anodize so contrast is crisp.
e. Final QC
– AQL 1.5 visual, 0.65 dimensional; CPK ≥ 1.33 on critical dims.
– RoHS & REACH compliance docs auto-generated; material cert and anodize salt-spray report attached to digital twin. -
Delivery
• Parts vacuum-sealed with VCI paper, nested in laser-cut EVA foam to prevent profile scuffing.
• FedEx/DHL pre-alert sent with photos, AWB, and customs HS code 76169990.
• Portal updates to “Delivered”; digital twin archived 7 years for instant reorder—no new DFM needed unless geometry changes.
Net result: upload a CAD file today, see a machined, anodized, inspected aluminum extrusion on your dock in as little as 72 hours, with full traceability and locked cost.
Start Your Project
Precision-Machined Aluminum Extrusions – Engineered for Excellence
At Honyo Prototype, we deliver high-tolerance, custom aluminum extrusions tailored to your exact specifications—perfect for aerospace, automotive, and industrial applications. Our Shenzhen-based factory combines cutting-edge CNC machining with rigorous quality control to ensure reliability, speed, and cost efficiency.
Ready to elevate your project?
Contact Susan Leo directly at [email protected] for a consultation or quote. Let’s turn your design into reality.
Honyo Prototype: Where Precision Meets Performance. 🔧
🚀 Rapid Prototyping Estimator