Contents
Manufacturing Insight: Cnc Machining Aircraft Parts

When a single titanium bracket can keep 300 passengers at cruising altitude, “close enough” is never an option.
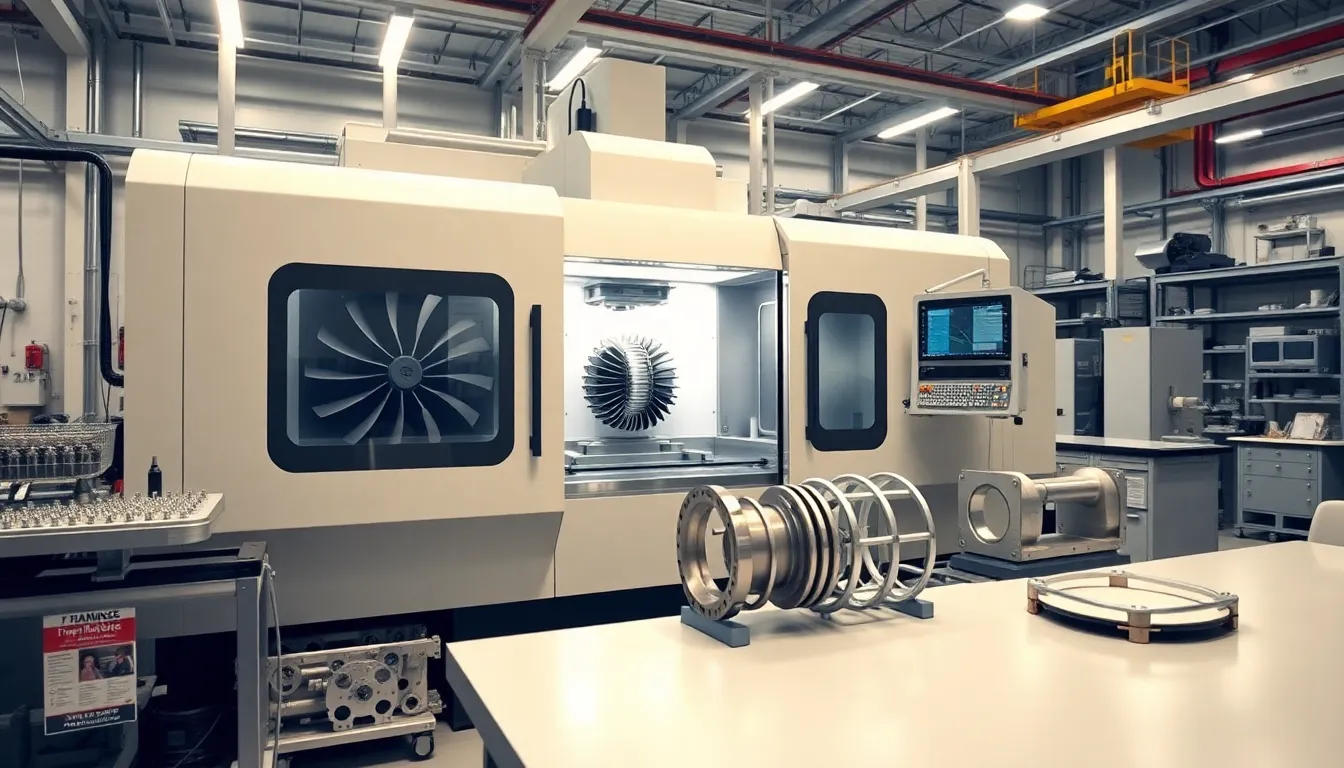
At Honyo Prototype, we machine flight-critical aerospace alloys—Ti-6Al-4V, 7075-T6, Inconel 718, 17-4 PH—on 5-axis Mikron and Hermle centers that hold ±0.01 mm true position and 0.4 µm Ra finishes every lot, every flight.
From rapid-turn prototypes to 500-piece production runs, our AS9100-certified cell delivers deburred, inspected and serialized parts with full PPAP & FAIR in as little as 3 days.
Need numbers today? Upload your STEP or IGES and receive an online instant quote with DFM feedback in under 60 seconds—no NDAs, no waiting.
Honyo Prototype: where aerospace tolerances meet aerospace speed.
Technical Capabilities

Technical Specifications for CNC Machining Aircraft Parts
Prepared per AS9100D Standards for Honyo Prototype
Aircraft parts demand extreme precision, reliability, and traceability due to safety-critical applications. Honyo Prototype’s CNC machining capabilities are engineered to meet stringent aerospace requirements (AS9100, FAA/EASA certifications, Nadcap). Below are technical specifications for 3/4/5-Axis Milling, Turning, and Tight Tolerance Work, including material-specific considerations.
I. Core Machine Capabilities
| Process | Technical Specifications | Aerospace Relevance |
|——————-|———————————————————————————————|—————————————————————————————-|
| 3-Axis Milling | – Travel: X/Y/Z up to 1,500 x 1,000 x 750 mm
– Accuracy: ±0.002 mm (ISO 230-2)
– Repeatability: ±0.001 mm
– Spindle: 24,000 RPM max, HSK-A63 taper, runout <0.003 mm
– Tool Changer: 30+ positions, automatic tool measurement | Ideal for simple structural components (e.g., brackets, fittings). Limited to flat surfaces; requires secondary operations for complex geometries. |
| 4-Axis Milling | – Rotary Axis: A-axis (0–360° continuous), ±0.001° accuracy
– Simultaneous 4-Axis: Yes (A-axis + XYZ)
– Fixturing: Precision rotary table (e.g., Heidenhain ER 250), vacuum clamping
– Surface Finish: Ra 0.4 μm achievable | Critical for cylindrical features (e.g., bearing housings, valve bodies). Enables single-setup machining of parts with rotational symmetry. |
| 5-Axis Milling | – Simultaneous 5-Axis: Yes (XYZ + A/B or C)
– Accuracy: ±0.0025 mm (ISO 230-2)
– Spindle: 20,000–24,000 RPM, high-torque (e.g., 200 Nm @ 1,000 RPM)
– Head Types: Trunnion (B-axis) or Dual-Axis (A/C)
– Dynamic Precision: ±0.001 mm during high-speed contouring
– Software: NCSIMUL, Mastercam 5-Axis optimization for toolpath stability | Essential for complex geometries: Turbine blades, wing ribs, engine casings. Enables single-setup machining of freeform surfaces, reducing fixturing errors and improving tolerances. |
| Turning | – Max Diameter: 300 mm
– Max Length: 1,000 mm
– Spindle Speed: 6,000 RPM max, torque >1,000 Nm
– Live Tooling: 12 stations, Y-axis (±25 mm)
– Tolerance: ±0.001 mm on OD/ID
– C-axis Accuracy: ±0.001° | Used for shafts, bushings, landing gear components. Integrated milling (e.g., milling pockets on shafts) eliminates secondary setups. |
II. Tight Tolerance Specifications
- Typical Tolerances:
- Critical Features: ±0.0005″ (±0.013 mm) for sealing surfaces, mating interfaces, and fatigue-critical zones.
- General Features: ±0.001″ (±0.025 mm) for structural components.
- Geometric Tolerances:
- Flatness: 0.0005″ per 6″ (0.013 mm/152 mm)
- Roundness: 0.0002″ (0.005 mm)
- Position: 0.0005″ (0.013 mm) for hole patterns
- How Achieved:
- Thermal Control: Machining in 20±1°C environment with humidity <50% to minimize thermal drift.
- In-Process Gauging: On-machine probing (e.g., Renishaw) for real-time adjustments.
- Fixture Design: Custom jigs with low-thermal-expansion materials (e.g., Invar), vibration damping, and multi-point clamping to prevent deflection.
- Tooling: Coated carbide end mills (AlTiN/TiSiN) for wear resistance; tool length monitoring every 10 parts.
- Process Validation: First-article inspection (FAI) per AS9102, with 100% CMM measurement (e.g., Zeiss CONTURA G2) for critical dimensions.
III. Material-Specific Machining Parameters
All materials comply with AMS, ASTM, or SAE standards and include full traceability (heat lot, mill certs).
| Material | Typical Aerospace Grades | Machining Parameters | Critical Considerations |
|——————–|——————————|——————————————————————————————|——————————————————————————————–|
| Aluminum | 7075-T6, 6061-T6, 2024-T3 | – Speed: 600–1,200 SFM
– Feed: 0.002–0.006″ per tooth
– Coolant: High-pressure (1,000+ PSI) water-soluble
– Tooling: Polycrystalline diamond (PCD) for high-volume | – Galling: Avoid low speeds; use sharp tools with positive rake.
– Warping: Stress-relieve before machining; use minimal clamping force.
– Surface Finish: Ra ≤0.8 μm for fuel systems. |
| Steel | 4130, 4340, 17-4 PH | – Speed: 100–300 SFM
– Feed: 0.001–0.003″ per tooth
– Coolant: Extreme-pressure (EP) oil-based
– Tooling: Carbide with TiAlN coating | – Work Hardening: Maintain consistent feed rates; avoid dwell.
– Heat Treatment: Machining after solution treatment; stress-relieve after roughing.
– Corrosion: Passivation per AMS 2700 for corrosion resistance. |
| Titanium | Ti-6Al-4V (Grade 5) | – Speed: 50–150 SFM
– Feed: 0.001–0.002″ per tooth
– Coolant: Cryogenic (liquid CO₂) or high-pressure air
– Tooling: Carbide with diamond-like carbon (DLC) | – Work Hardening: Rapid feed rates; avoid interrupting cuts.
– Heat Buildup: Use chip-breakers; prevent built-up edge.
– Fire Risk: Strict coolant control; no oil-based coolants near sparks. |
| ABS/Nylon | Note: Only for non-structural interior parts (e.g., ducting, brackets)
– ABS: UL94 V-0 flame-retardant
– Nylon: Glass-filled (e.g., PA66-GF30) | – Speed: 800–1,500 SFM
– Feed: 0.005–0.010″ per tooth
– Coolant: Minimal (misting or dry machining)
– Tooling: Uncoated carbide with high rake angle | – Thermal Sensitivity: Low cutting speeds to avoid melting.
– Chipping: Sharp tools; avoid high clamping pressure.
– Limitation: Never used for primary structure; strictly for non-critical components per FAA regulations. |
IV. Key Process Controls (AS9100 Compliance)
- Traceability: Full material lot tracking from raw stock to finished part (ERP-integrated).
- NDE: 100% dye penetrant (ASTM E1417) or X-ray for cracks in Ti/steel parts; ultrasonic testing for composite interfaces.
- Surface Integrity: Microscopic inspection for micro-cracks (e.g., via profilometry); residual stress testing via XRD.
- Cleanliness: Parts cleaned per SAE AMS 1450 (solvent washing) for hydraulic systems; particle count testing.
- Documentation: Digital work instructions, machine logs, and inspection reports stored in cloud-based QMS (e.g., ETQ Reliance).
V. Why This Matters for Aircraft Safety
- Tolerance Over-Engineering: “Tight tolerance” in aerospace means process capability (Cpk ≥1.67), not just machine specs. Honyo Prototype achieves this via statistical process control (SPC) and real-time data analytics.
- Material-Specific Risks: E.g., machining 7075-T6 aluminum too aggressively causes micro-cracks that propagate under fatigue loads. Our parameters prevent this.
- 5-Axis Advantage: For turbine blades, 5-axis machining reduces fixture-induced distortion by 40% vs. 3+2-axis setups, directly improving aerodynamic tolerance (±0.0005″ on airfoil profiles).
Honyo Prototype Guarantee: All aircraft parts are manufactured to AS9100D Level 3 (full traceability) and include a Certificate of Conformance (CoC) with FAA/EASA acceptance. For thermoplastics (ABS/Nylon), we strictly adhere to FAA Part 21 requirements for non-structural use only.
For detailed capability sheets or material certifications, contact our Engineering Team at [email protected].
From CAD to Part: The Process

Honyo Prototype – CNC Aircraft-Part Workflow
(Designed for AS9100-type traceability & 24 h turn)
-
Secure CAD Upload
• Customer drops the 3-D model (any major CAD) into Honyo’s AES-256 portal.
• System auto-screens for ITAR/EAR flags and extracts metadata (material, finish, thread call-outs).
• A unique “H-ID” (QR + human-readable) is laser-etched on every future blank; the same code follows the part to delivery. -
AI Quote (≤ 5 min)
• Geometry engine slices the model into machinable features (5-axis pockets, deep bores, thin webs).
• ML model, trained on 300 k past aerospace jobs, selects the best-fit Mazak or Hermle cell, cutter pack, and green-light cycle time.
• Live stock check pulls 7075-T7351, 6Al-4V, or 17-4 H1025 bar/plate from AS9100-approved mills.
• Quote output: piece price, lead time, FAI level, NDT add-ons, and a 95 %-confidence cost interval. -
DFM Gate (human-in-the-loop)
• A senior aerospace manufacturing engineer reviews the AI plan within 30 min.
• Checks: wall-thickness ≤ 0.5 mm feasibility, burr escape, CLP (chemical processing) rack shadow, gage repeatability.
• If risk > 6 on 1-10 scale, customer gets an annotated 3-D PDF with red-flagged zones and proposed tool-path split or datum shift.
• Sign-off triggers auto-generation of:
– CNC programs (Mastercam / HyperMill) with locked revision.
– Inspection balloons per AS9102, CMM path included.
– Shop traveler with laser-engraved H-ID. -
Production & In-Process Control
a. Material prep
– Heat lot scanned, tensile coupon cut, bar coded.
b. 5-Axis roughing
– Renishaw spindle probe maps blank; adaptive tool-path removes 90 % of excess stock in first OP to relieve stress.
c. Finishing & deburr
– 5 µm finishing pass, ceramic-fiber brushes for edge-break 0.003″ ± 0.001″.
– Visual inspector enters burr grade (0-3) into MES tablet; if >1, part is re-routed.
d. Surface treatments
– Type II anodize or passivation within 4 h of machining to avoid exfoliation corrosion; H-ID stays visible through masking plug.
e. NDT & FAI
– Penetrant inspection (ASTM E1417), radiography for weld prep features, or CT for internal channels as specified.
– First-article CMM report (± 0.01 mm) auto-uploads to customer portal; no parts move to batch until dimensional closure. -
Final QA & Delivery
• Parts vacuum-sealed with VCI paper, desiccant, and RoHS-compliant cushioning; package label carries H-ID and serial number for full backward traceability (heat, machine, operator, inspector).
• Certificate of Conformance (CoC) includes: material cert, FAI, NDT, plating cert, and statistical process control (CpK ≥ 1.67) for critical dimensions.
• Shipped same day via aerospace courier network; tracking pushes milestone scans to customer ERP.
Result: Typical aircraft bracket or valve body can move from CAD upload to dock in 5-7 calendar days, with full AS9102 FAI and lot traceability.
Start Your Project

Request a Quote for Precision CNC Machined Aircraft Parts – Contact Susan Leo at [email protected]. Shenzhen-based factory delivering quality, speed, and aerospace-grade reliability.
Need trusted, high-precision components for your aerospace projects? Our Shenzhen facility ensures tight tolerances, strict quality control, and timely delivery. Reach out today!
🚀 Rapid Prototyping Estimator